How to Reduce Reprints and Logo Errors in Branded Merchandise?
Key Points:
- Common logo errors include blurry artwork, incorrect colours, wrong logo versions, poor placement, and unreadable text.
- Use clear artwork processes, vector files, correct colours, and careful proof checks to prevent mistakes.
- Cubic Promote helps you manage artwork and approvals to ensure accurate, high-quality branded merchandise.
Logo errors are a common and costly issue in branded merchandise. Even a small error in artwork, colour, or placement can cause reprints, delays, and wasted products. For Australian businesses ordering in bulk, avoiding these problems saves both money and time.
![]()
What we advise our clients to avoid issues is to have a clear artwork process before production starts. When artwork files, approvals, and branding details are managed properly, the chance of needing reprints goes down a lot. We created a guide to help local organisations reduce reprints and logo errors when ordering.
Why Logo Errors Happen?
Most printing mistakes do not happen during production. They happen earlier during the artwork stage. Common causes include:
- Low-resolution logo files
- Incorrect colour codes
- Missing brand guidelines
- Rushed approvals
- Miscommunication between teams
These problems are more likely when orders include several products or involve different departments. In bulk orders, even a small mistake can impact hundreds or thousands of items.
The Most Common Errors
Knowing the most common problems makes them easier to avoid.
Step 1: Use Vector Logo Files
We always encourage our clients to use vector artwork when submitting. It’s because vector files can be resized without losing quality.
Preferred File Types
File Types to Avoid
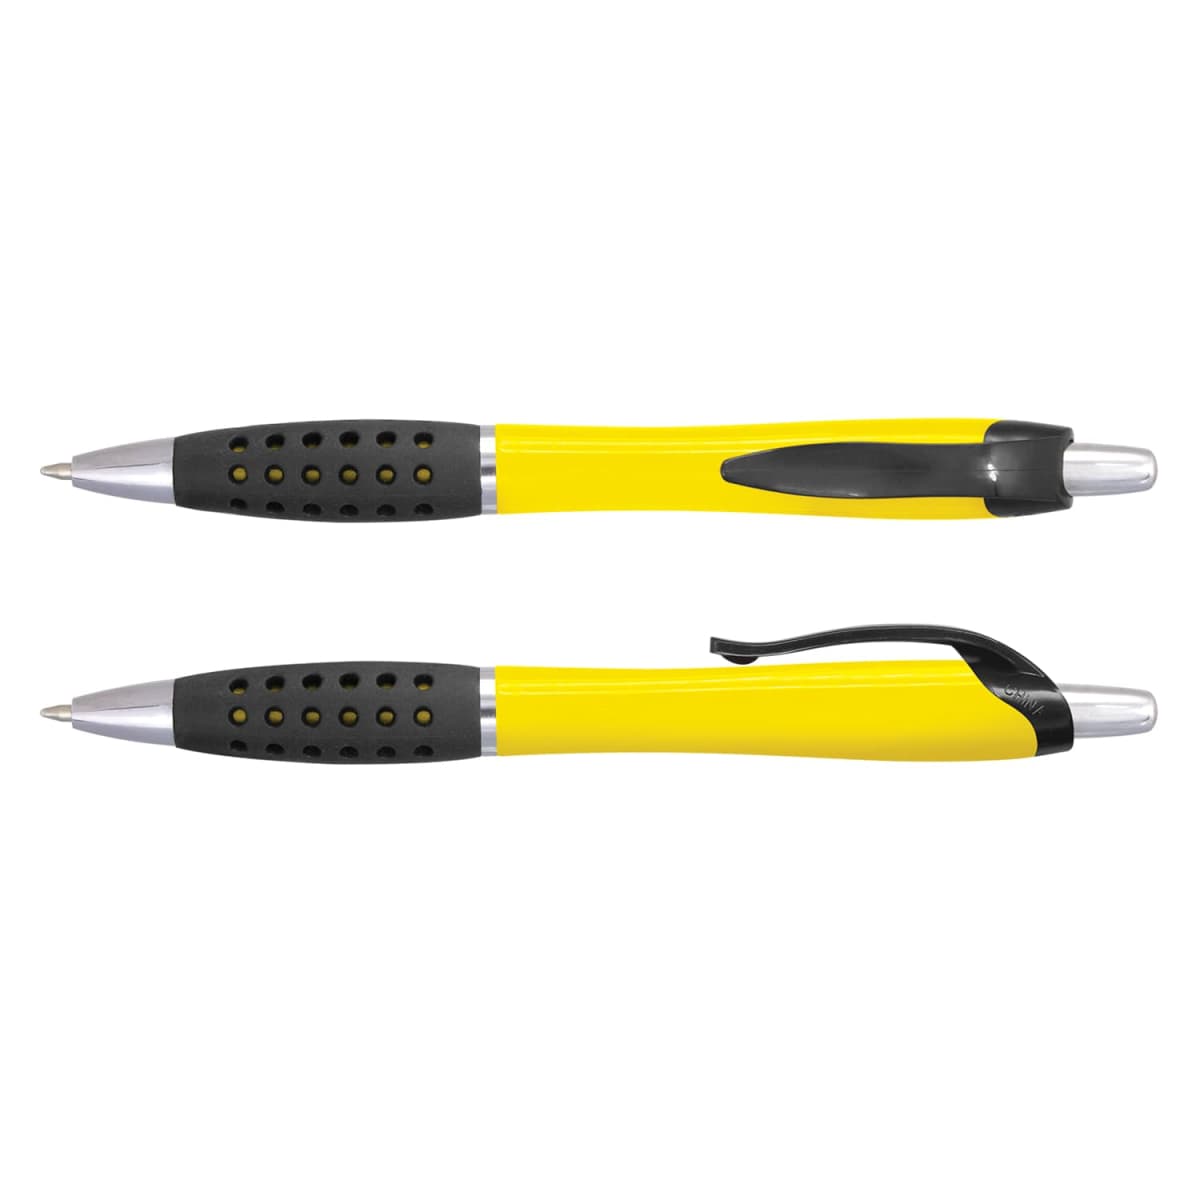
Second, using vector artwork keeps your logo sharp on everything from small items like pens to larger items like tote bags.
Step 2: Confirm Colour Codes Before Production
Colour mismatches are also a common reason for reprints. Brand colours should always be specified using recognised colour systems.
Common Colour Systems
For example, your company may require Pantone 186C for red and Pantone 281C for navy. If you don’t provide us with the code, printers might guess the colours and it might cause inconsistency in the printing.
Step 3: Review the Artwork Proof
Before production starts, your supplier will send you an artwork proof. This digital mock-up shows:
- Logo placement
- Print size
- Colour representation
- Product orientation
What to Check in an Artwork Proof
- Logo size is correct.
- Colours match brand guidelines.
- Text is spelled correctly.
- Logo placement is balanced.
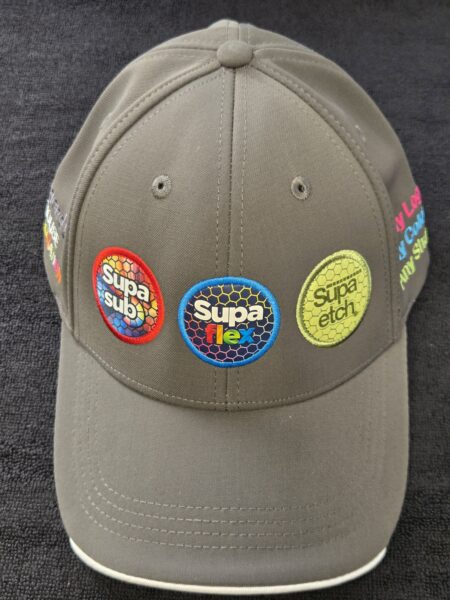
- Orientation is correct (especially on mugs and bottles)
Take your time to review proofs carefully. Once you approve them, production usually starts right away.
Step 4: Maintain a Central Brand Asset Library
Logo errors often happen when teams use different versions of brand assets. A central brand asset library can prevent this. It should include:
- Approved logo files
- Colour specifications
- Brand fonts
- Clear space guidelines
- Logo variations (light background, dark background)
When everyone uses the same files, mistakes become far less common.
Step 5: Assign One Person to Approve Artwork
Having several people approve artwork often leads to confusion. Instead, choose one person to be responsible for approving artwork proofs. This person should:
- Understand brand guidelines
- Check colours and placement.
- Confirm the correct logo version.
Having one person approve the artwork helps avoid conflicting feedback and speeds up production.
Step 6: Test New Products with Small Runs
If you’re ordering a product for the first time, consider a smaller run before committing to a large quantity. This approach allows you to verify:
- Logo size
- Print clarity
- Colour accuracy
- Material compatibility
If adjustments are needed, they can be made before placing a larger order.
Step 7: Understand Decoration Method Limitations
Different printing methods can change how your logo looks.
Common Methods
Choosing the right decoration method makes sure your logo looks the way you want.
Quick Checklist
Check this list before you approve production.
- Vector artwork file provided
- Correct Pantone colours supplied
- Correct logo version confirmed
- Artwork proof reviewed carefully.
- Spelling checked
- Logo placement approved
- Decoration method understood
Spending just five minutes on this review can save you from costly reprints.
Avoiding Reprinting
Logo errors are preventable. Most issues happen when artwork files aren’t clear or when approvals are rushed. The best way to avoid reprints is to:
- Use vector artwork
- Provide clear colour specifications.
- Review proofs carefully
- Maintain a central brand asset library.
- Assign one person to approve artwork.
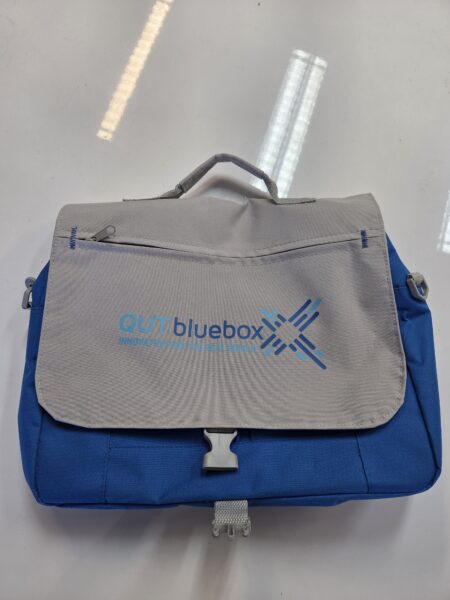
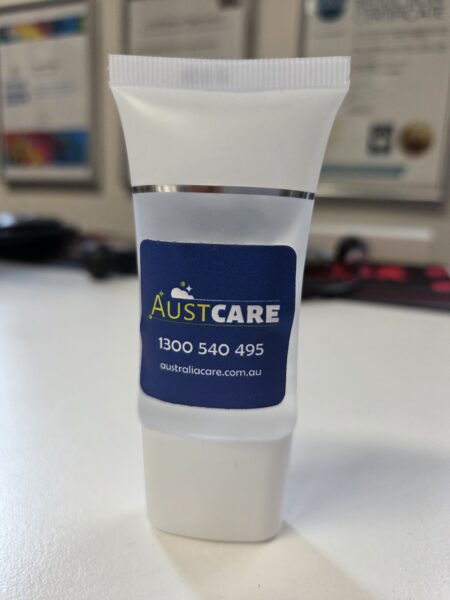
When you follow these steps, ordering branded merchandise becomes a much smoother experience. More importantly, you can trust that each item will capture your brand just as you envision it.
Ready To Buy?
Do you have your logo on hand? Explore our top-selling uniforms and promotional merchandise for your organisation.