Home » Product Performance Ratings: Resources »
What is Print Bleed?
Last Updated: 21 July 2025
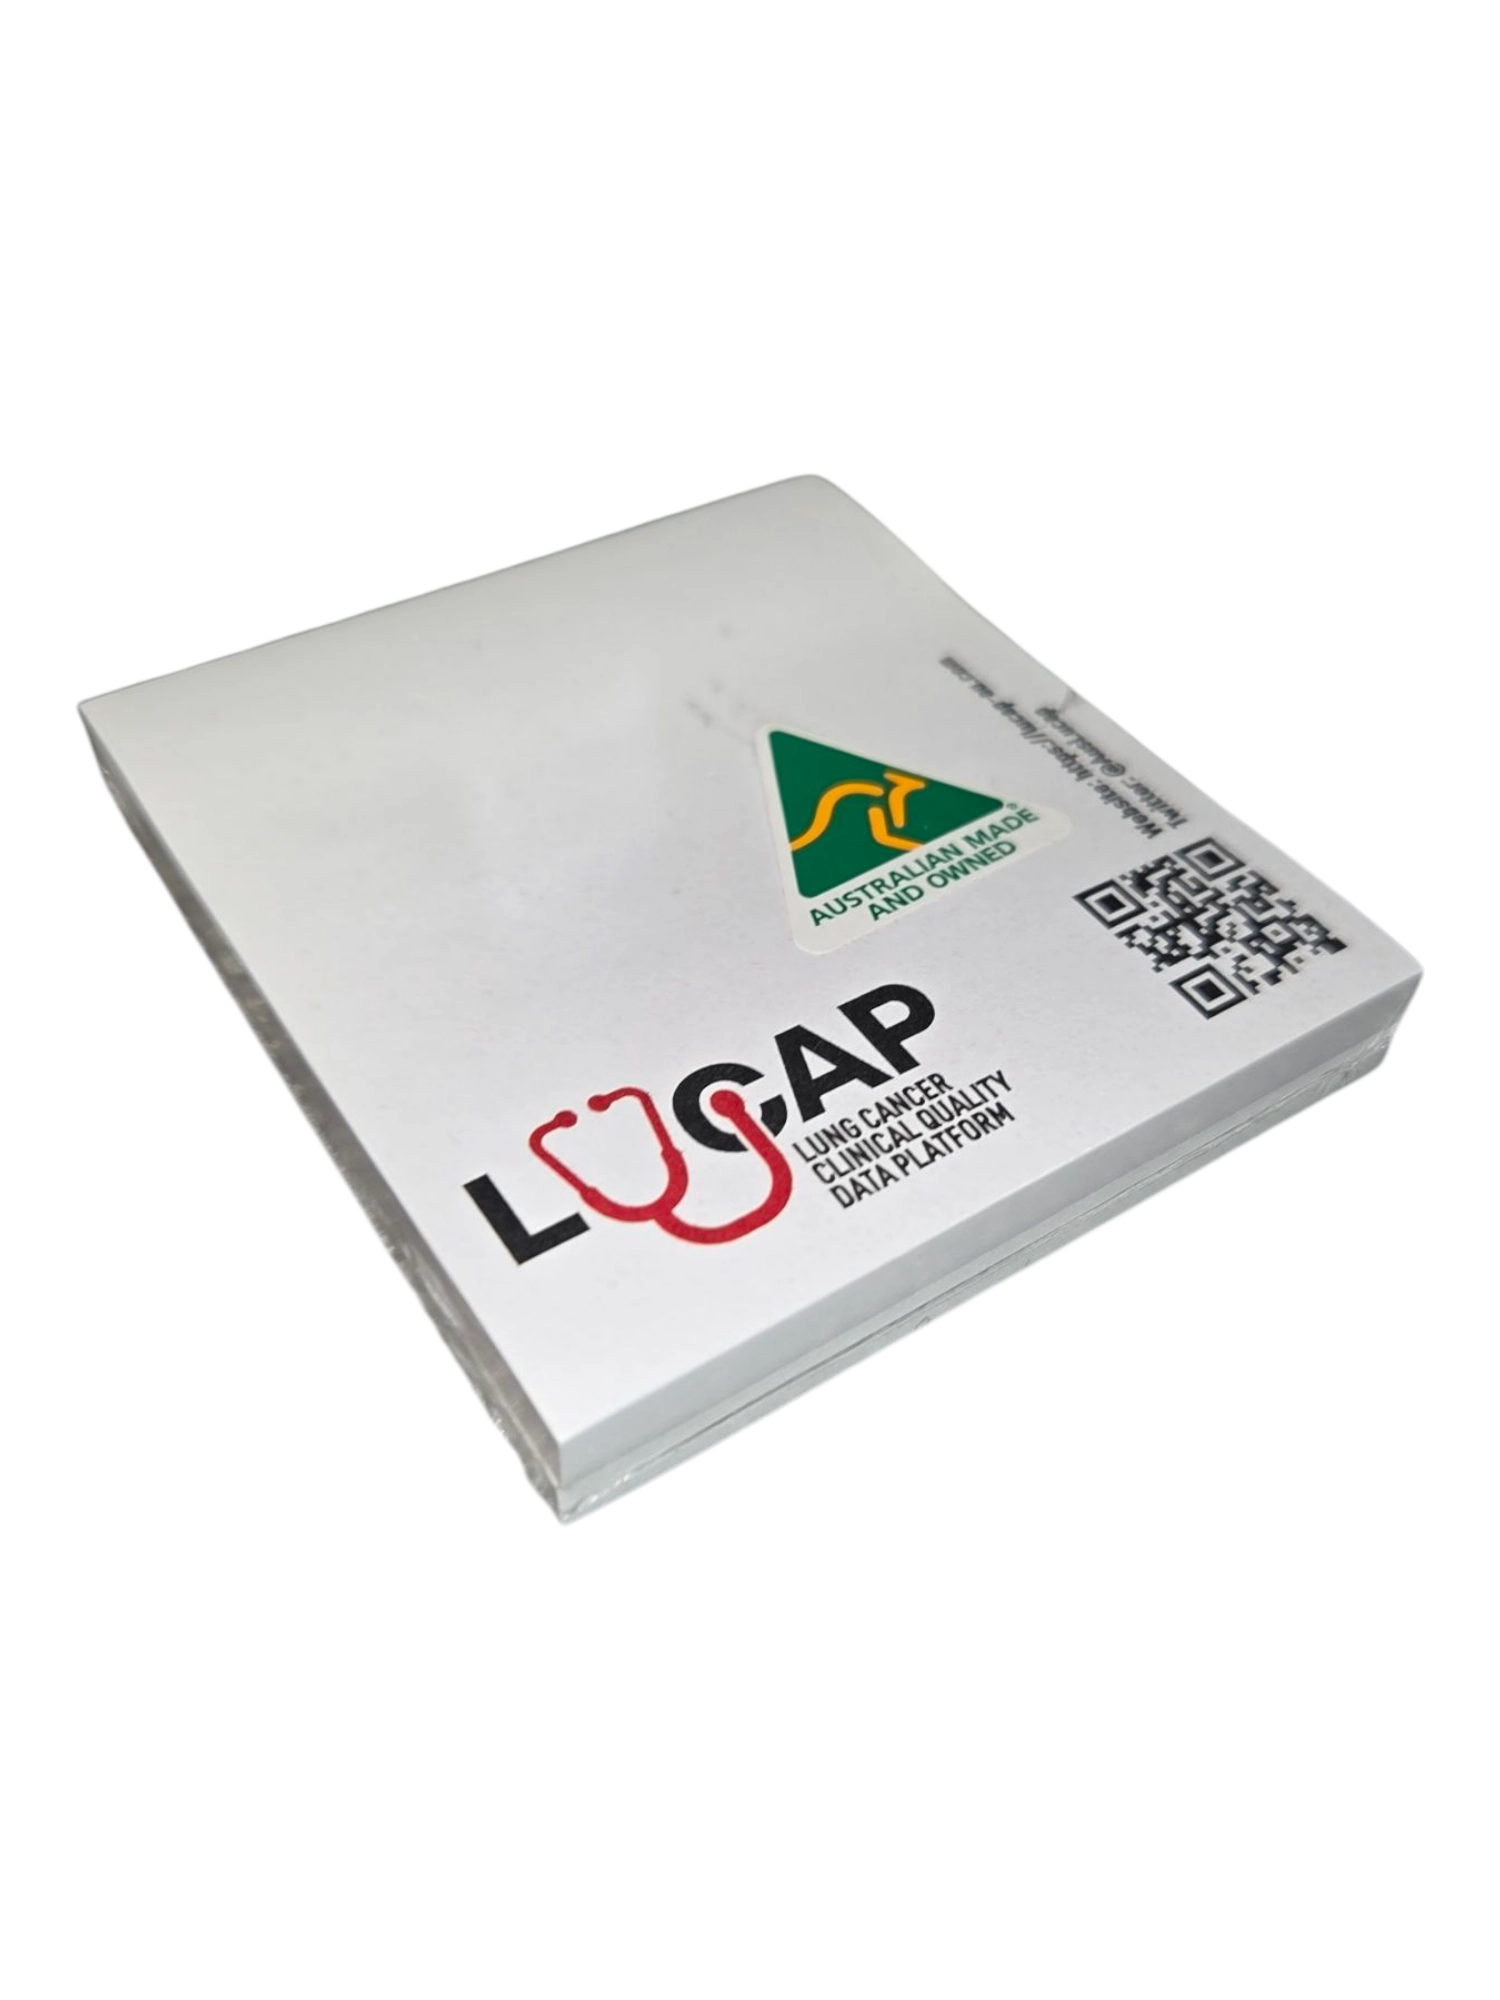
The print bleed area refers to the part of your design that will be trimmed once your piece is printed. To ensure all edges of your print look clean and lack any unwanted white space, you should extend your design into the bleed area. Consequently, this step helps achieve a polished final product. Print bleed is common-place when it comes to printing onto paper-based products. An example would be custom-printed sticky note pads.
Why Is There a Bleed Area?
The print industry uses a bleed area to account for possible misalignments during trimming and cutting. For instance, printed magnets or inserts in promotional keyrings should be considered. Even slight misalignments can occur when trimming paper products. Although the margins might seem small—only a few millimetres—the impact can be pretty visible on the final product.
What Are Standard Print Bleed Dimensions?
The standard bleed area measures 3mm on each edge for most prints. Thus, your design should extend 3mm beyond the trim size on all sides. For example, if you’re designing a business card that gets trimmed to 90x55mm, your design size should be at least 96x61mm.
How do I set up bleed in my design?
- In Adobe Photoshop: Increase your canvas size to account for bleed. Go to Image > Canvas Size and add 3mm to the width and height.
- In Adobe Illustrator: Create a box that reflects your final piece size plus bleed. For a final size of 90x55mm, your box will be 96x61mm. Afterwards, go to File > Document Setup > Edit Artboards. Adjust the bleed box dimensions accordingly.
- In InDesign: Set up a new document with the final size plus bleed. So, for a trim size of 90x55mm, your document should also be 96x61mm.
Adjusting Your Artwork For The Right Bleed Size
When working with a printer, adjust your artwork for the appropriate bleed size before sending designs to print. Include an extra 0.125 inches in your design. This extra bleed ensures that elements extending beyond the page edges won’t be cut off during production. If you are unsure about the required bleed size, consult your printer’s guidelines. Though it may seem minor, including a proper bleed size is crucial for achieving professional-quality prints!
Common Mistakes to Avoid When Designing with Print Bleeds
- Not including enough bleed size: Ensure any elements that extend beyond the page edges include that extra 0.125 inches for a polished final product.
- Making your text too small: While adjusting font size might fit your design, confirm that your text remains legible when printed.
- Not checking your artwork colour mode: Use the correct colour mode (RGB or CMYK) so that printed colours appear accurate to their intended shades.
- Overlooking trim marks and margins: When designing with bleeds, remember to account for trim marks and margins to avoid interference with your artwork elements.
If you need more advice on designing, please do not hesitate to call us on 1300858288. We also offer a graphic design service, to help you with designing your artwork for everything from custom notebooks through to personalised confectionery.